


How I Make A Route Card For Ultra Races
Planning logistics in an unpredictable environment.
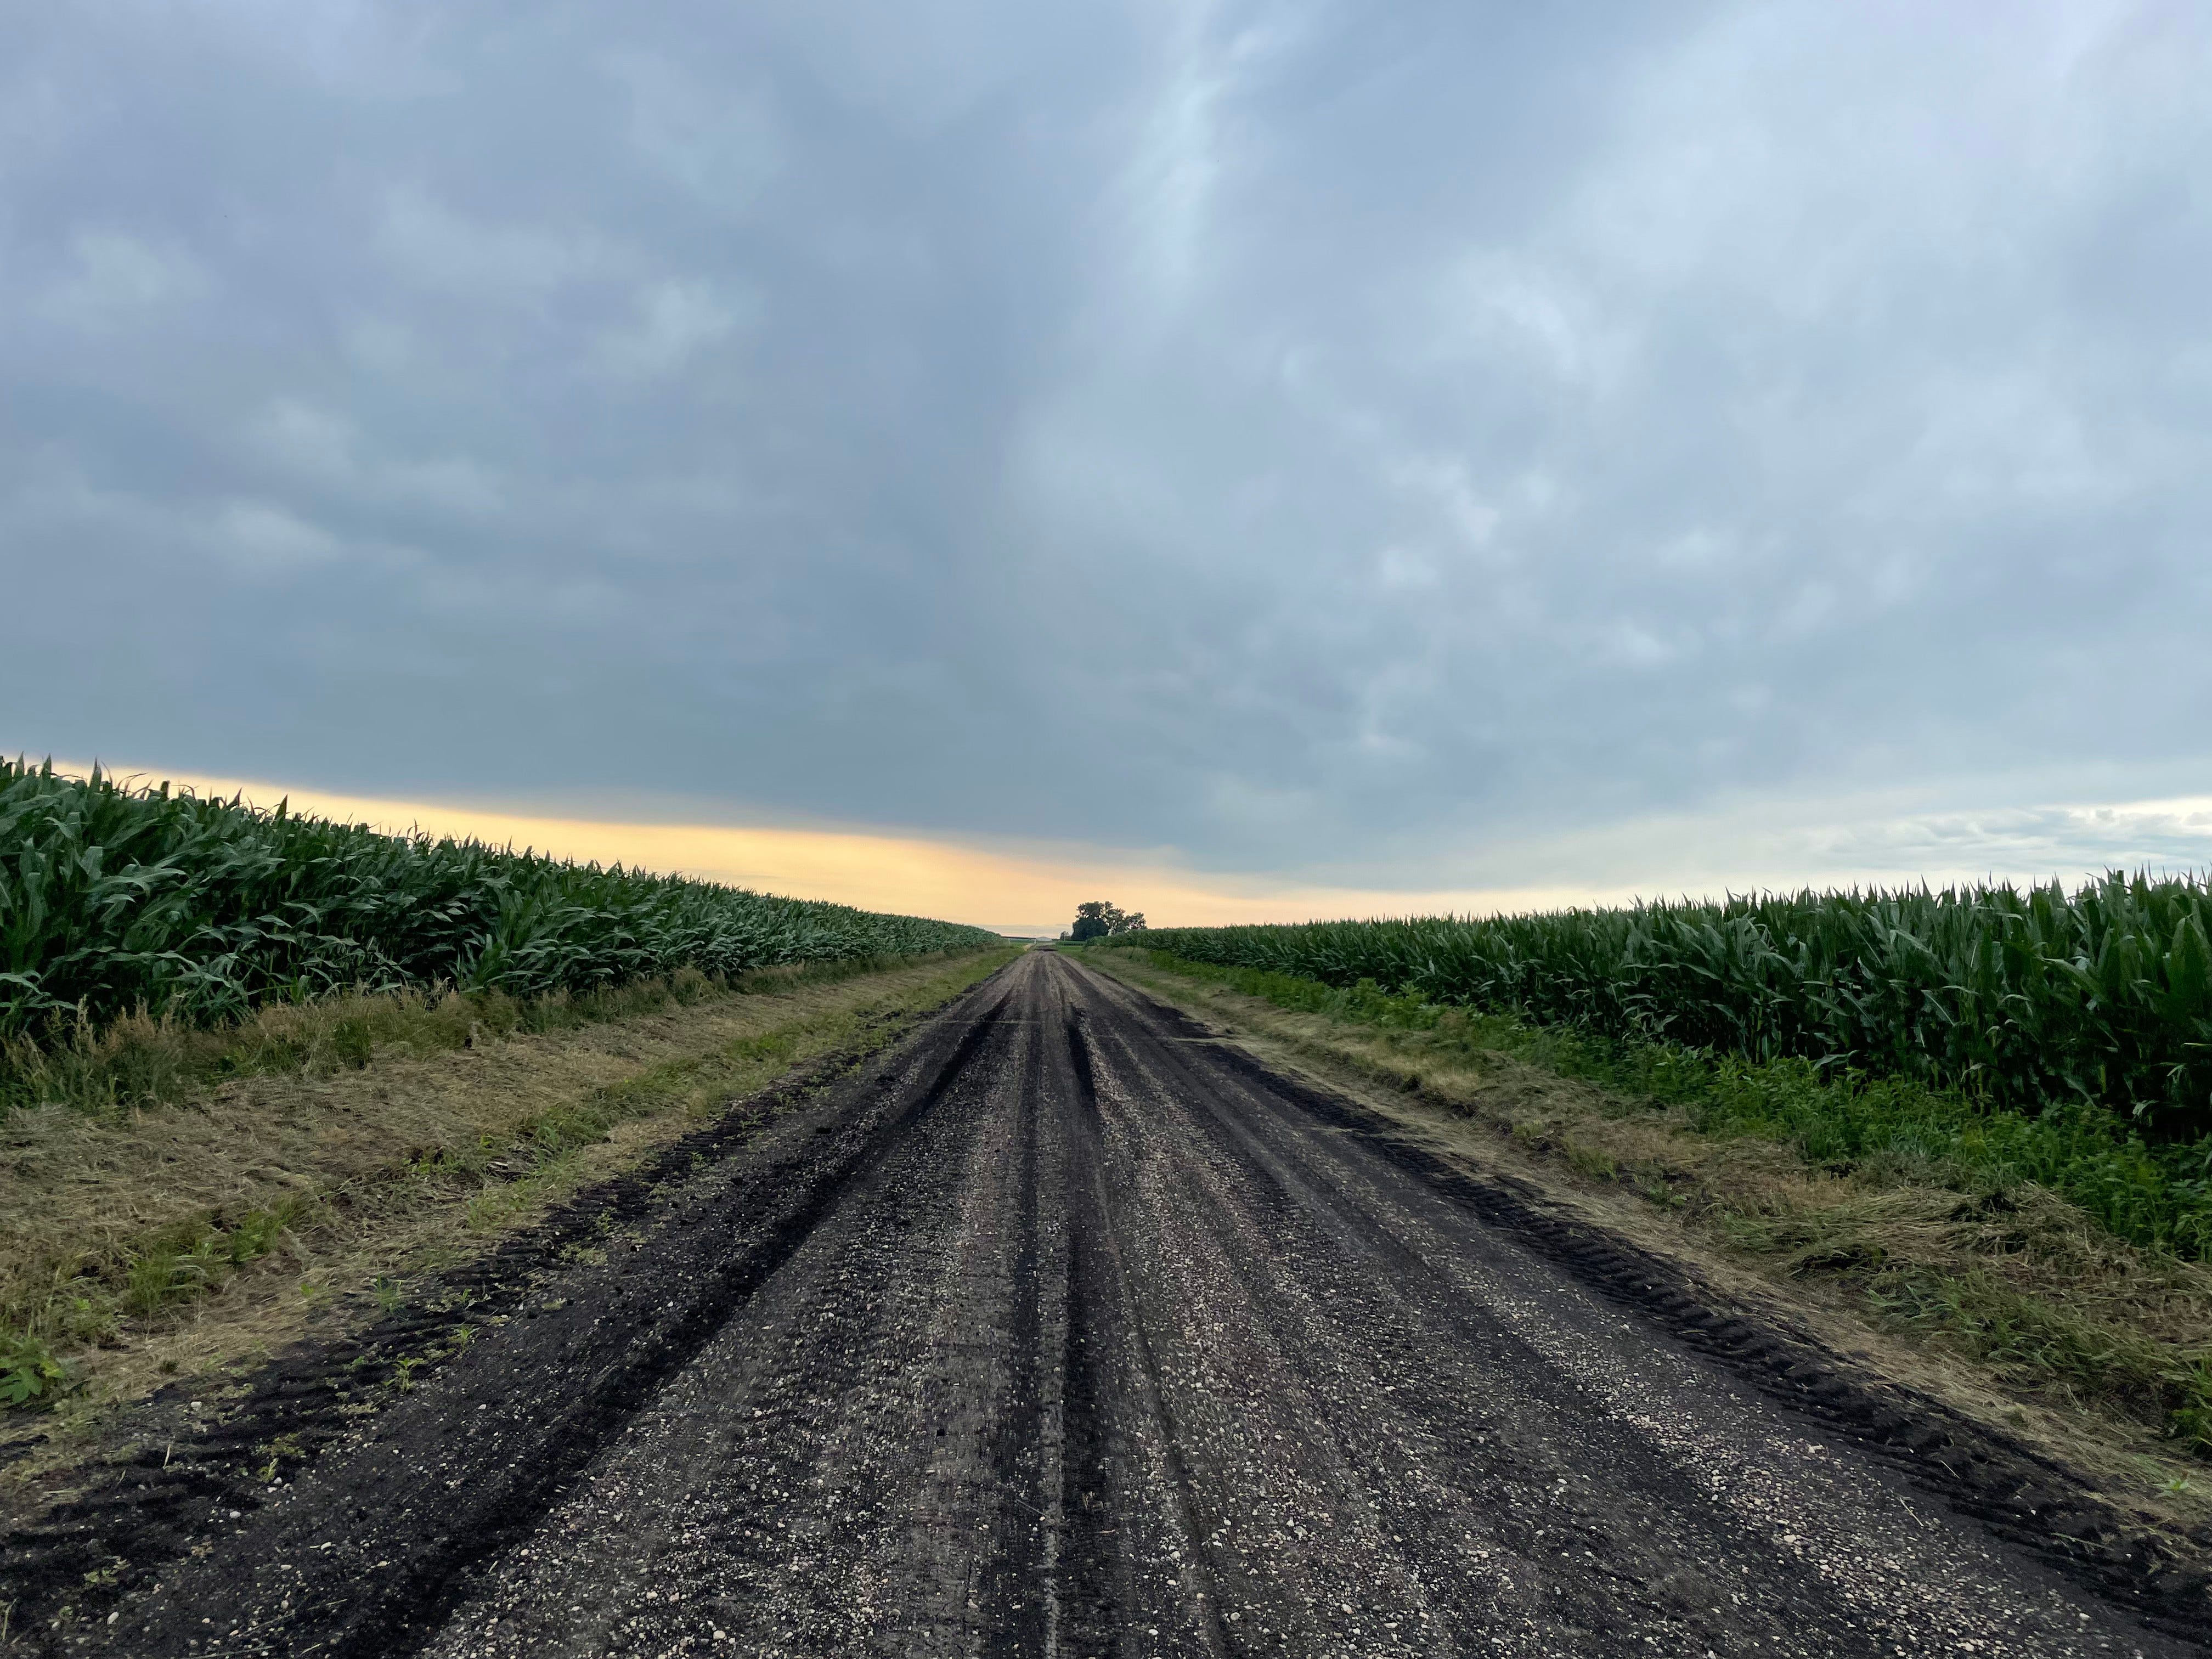
Bikepacking/Ultra racing season is well and truly underway. The Atlas Mountain Race and Race Around Rwanda have already run. So have the East Texas Showdown, Ozark Gravel Doom, and many other smaller events, with many more races big and small starting this month.
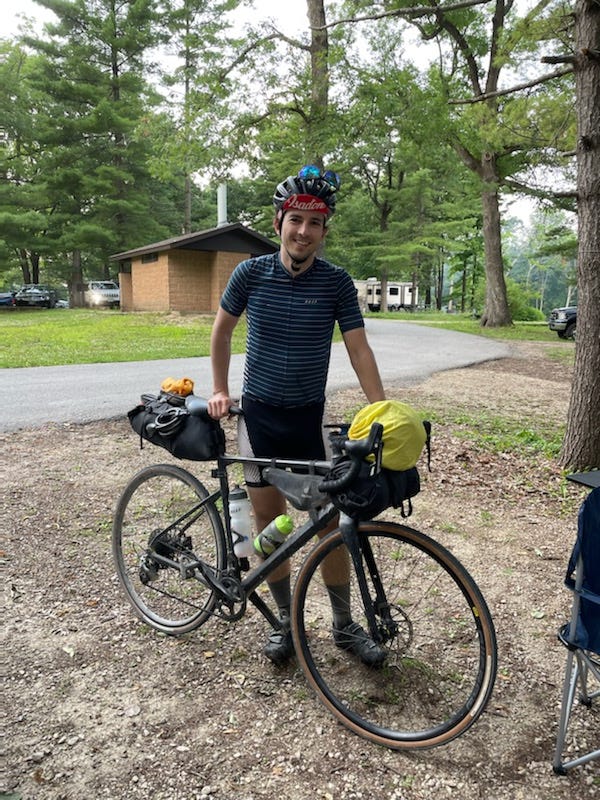
Most importantly for me, the Mishigami Challenge is just two months away. (Registration is still open until the end of May! This is well and truly one of the beginner-friendliest ultras you could hope for!)
So by popular request, let’s talk about how to plan for an ultra race, and more specifically, how to plan for the route. Where will you resupply? Where will you stop? What is important to figure out ahead of time?
Let’s get into it.
Do Your Thinking Ahead Of Time
In the middle of an ultra, your brain will not be working properly. It just won’t. Hopefully you’ll be mostly lucid, but complex reasoning (or sometimes even basic math) is going to be a whole lot harder than it is normally.
This is why I make a detailed route card before the race. I won’t be able to make specific decisions until I’m in the moment, but a route card helps me to simplify those decisions, to make them as straightforward as possible so that I can quickly and effectively act while on course.
For one example as to why this is important: Last year for the Mishigami Challenge I did not mark any hotels on my route card. This is not unusual for me because I like to camp and generally think it’s the faster way to go. However, the last night on course was threatening to be stormy, so I wanted to check into a motel. But because I hadn’t marked where the hotels on route were ahead of time, I couldn’t make a quick and easy decision.
I wasted probably 30 minutes and a LOT of emotional stress trying to cross-reference the race route in one app on my phone with hotel listings in another other, attempting to judge how far along the route different options were and how far off route I’d have to go to get to them. It was seriously not fun.
More generally, you need too know when you’re facing 100km with little to no resupply. You need to know where your next sleep option is when the sun is setting and you’re about to leave a town. Trying to figure these things out while also riding your bike is hard under the best of circumstances, and three days into an ultra race is never the best of circumstances for sharp cognition.
Where To Sleep?
Let’s start with the biggest concern many people have when jumping into a multi-day event: where will I sleep?
To answer this, we have to start with some self-assessment.
1) Will I be bringing camping gear?
For some races, this is not a question: You WILL be bringing camping gear, or you won’t be finishing.
For others, where hotels can be reliably found at regular intervals, it can be a real question.
So are you comfortable with camping? Have you practiced with all of the camping gear you’ll take? These are prerequisites to the race, not something you want to figure out during it.
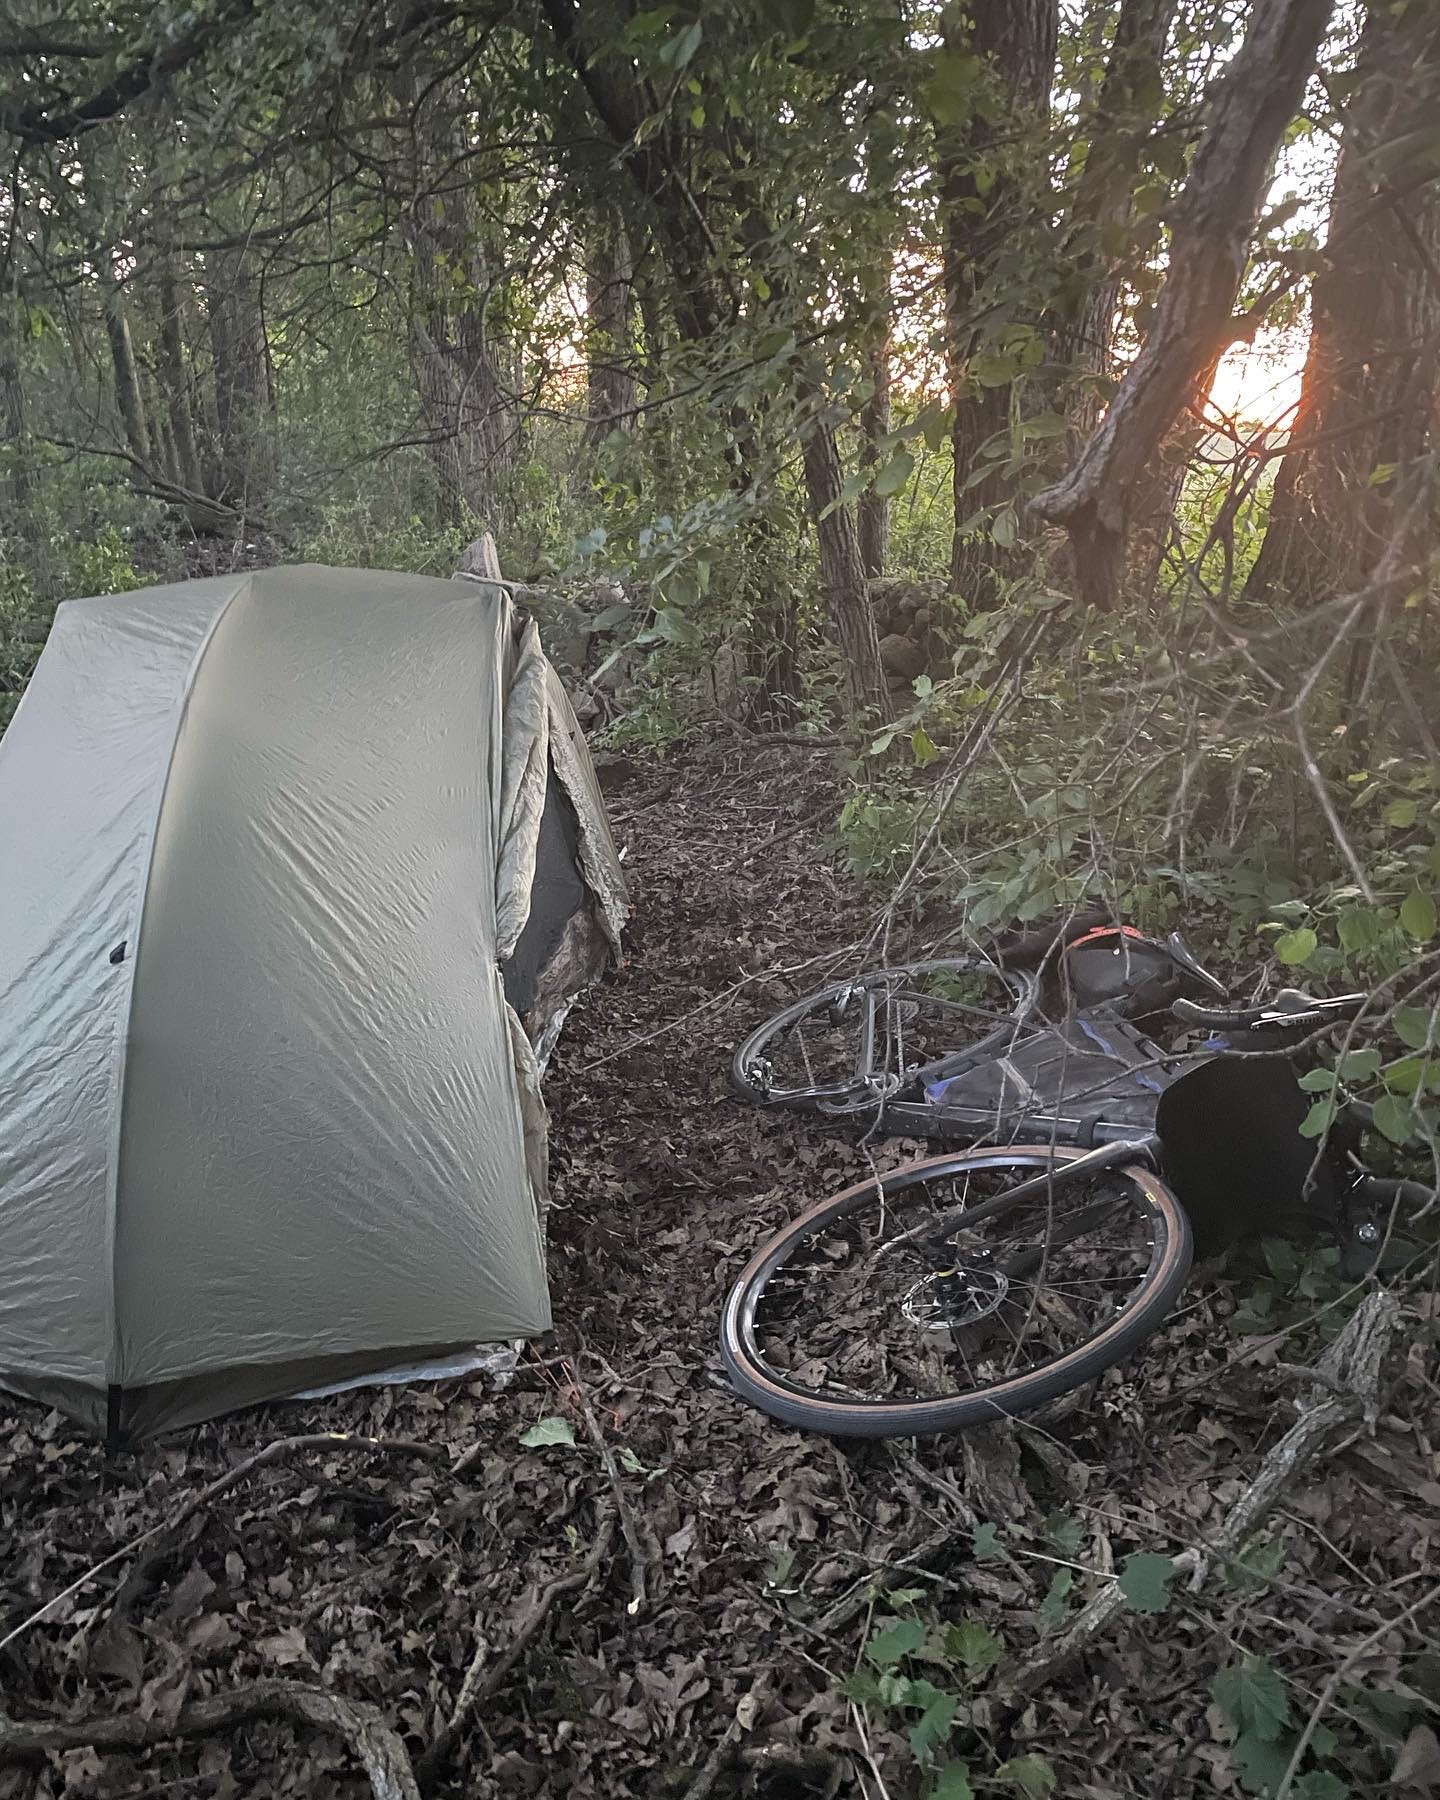
Beyond those basics, what conditions are you comfortable camping in? By this I mean both the obvious, “If it’s storming, will I be ok in my tent/bivvy?” as well as the less direct, “Am I ok with stealth camping, and when is that a realistic option?”
In general, being at least able to camp (or even nap outdoors relatively comfortably for a couple hours) will dramatically increase the options you have. That said, there’s nothing wrong with sticking to hotels if the race route allows, and it could reduce the amount of gear you need to carry with you.
2) Approximately how far will I be going per day?
This is a tricky thing to assess, especially if you haven’t raced before, because there is something special about the race environment. It has a habit of spurring you on further than you previously thought possible.
My rule of thumb is to both plan realistically AND ambitiously.
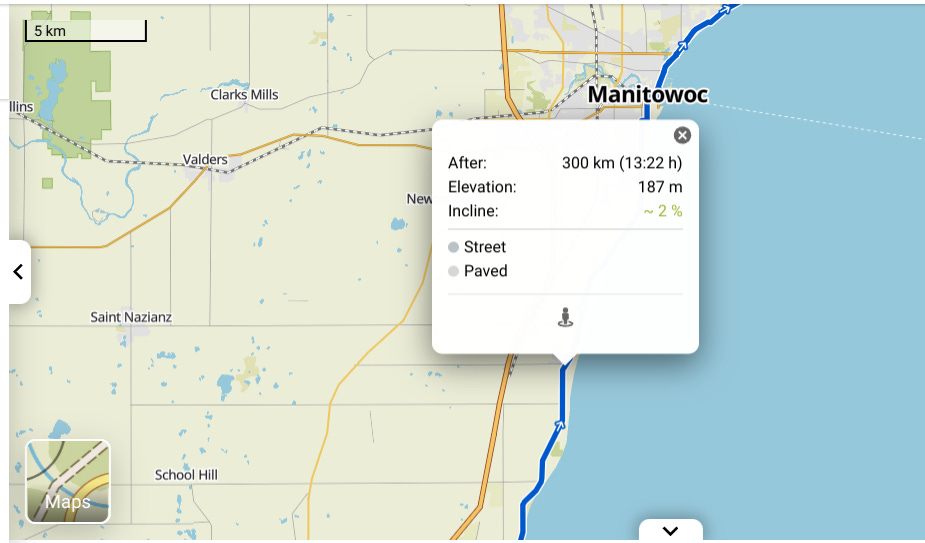
For example, if I think about 300km per day is most likely, I will note opportunities to stop early (~250km), “on time” (~300km), and late (~350km).
Planning possible stops earlier than you think you’ll need them is especially important if you’re racing off-road or over a lot of elevation, but it’s relevant regardless. What if there’s bad weather and you can’t ride for several hours? What if you have a mechanical? Again, you don’t want to be solving these kinds of problems in the moment. You want to have the possible solutions right in front of you.
3) How far are you comfortable pushing at need?
The last piece of this part of the puzzle is estimating how far you are willing and able to go if you get stuck “in between” options. Trying to judge exactly where on course you’ll need to stop becomes harder and harder the more days out you’re trying to plan, so having options that are within your “I can make it that much further if I have to” range is valuable.
I tend to think of this in terms of time more than distance, but either method will do.
For example, you might say that you can go an extra two hours beyond plan if you have to. That probably equates to 40-60km for most people. Therefore, as you get further out in your plans, you probably stop thinking about, “I plan to do 300km per day” and you think more in terms of, “I want to look for an option to stop, even a less than ideal one, every 40-60km.”
Make an exhaustive list. Then worry about likely scenarios.
Once you have your answers to the questions above, it’s time to start listing out your options. Finding places to sleep will take time, but I’m very much of the opinion that a little over-preparation on this front is worth it.
This is easiest if you have two screens. On one, you’ll want to pull up your race route. On the other, a general map and search bar. You’ll also want a document (I like spreadsheets for this purpose) to make notes.
On your race route, start by finding your approximate finish distance for the first day of the race. I’ll keep using the example above, 300km, as well as the Mishigami Challenge route to illustrate, but the principle holds for any course and any projected distance.
Now you have a point of reference to start working from.
Whether you’re planning to stay in hotels or at campgrounds, the next step is usually a search. “Hotels near [city]” or “Camping near [town]” will hopefully give you a handful of options that you can start comparing to the race route, looking for what’s as directly on route as possible.
For each of these, I’ll note what kilometer/mile of the route the option is at, the name of the option, and notes about open hours, contact info, and (if it’s off route) where I need to turn and how far off-route I’d have to go to get to it.

Ideally, this will give me a few options for my first sleep stop of the race, ranging from one or two I’ll almost certainly pass barring a problem to one or two I probably won’t get to on day 1…unless I happen to end up going a lot further than I initially expected, and then I’ll be happy I had a contingency plan in place.
I’ll then repeat this process for day two, except that already I have a huge range of possible outcomes. Going back to the example, if I were to go shorter than expected on both days, that might mean my day 2 stop was at 500km. Alternatively, going longer than expected both days could mean a stop at 700km.
This is where question 3 above comes into play. Don’t be shy about making extra notes. Follow the rest of the race route and note the possible stops, looking for an option at every “push” interval. Prioritize options that are directly on route.
After you’ve made one pass through the whole route, you can eliminate some options, keeping the better choices of two that are too close together to be meaningful. You can also look for gaps in this plan you might need to fill. Maybe there’s a 100km span where you need to add a hotel option even though you planned on camping, just in case. Or you might need to look for secluded places where you can stealth camp for just a few hours without anyone caring.
After you have this list in place, it might be worth going back and highlighting your best options, or the ones you think you’re most likely to use, but you’ll have given yourself a series of easy decisions for during the race. Still feeling good? How far is the next potential stop? You have the ability to make an immediate judgment call instead of wasting time looking for options.
Know Where You Can Resupply, Especially Before Going Off-Grid
After you have your stops, you’re effectively going to repeat the same process to locate places you can resupply. The specificity you’ll want to bring to this step will depend a lot on how late or early you want to ride.
Just knowing where towns are can be enough…during normal business hours.
If your personal projected race schedule isn’t going to have you riding too early or too late, you can get away with keeping things pretty simple. For example, here’s a section from my 2022 route card:

In this case, my pre-race decision was that I was going to take time on route to decide where exactly to resupply - or just stop wherever I saw a place. Because I wasn’t anticipating being on course far outside of normal business hours, I mostly just needed to be careful about the distances between towns…and then accept whatever option I found there.
But…
Don’t depend on 24 hour options being available, especially if you’re going to be out very early or very late.
The corollary to this is, if you’re going to be racing, carry plenty of food so that you can survive a missed resupply..
But we‘re talking planning, so IF you’re racing, just marking where towns are probably isn’t going to be enough for you. You’re going to want to do some research and have a good idea of exactly where you’re likely to stop. That means checking hours, having backup options, and being extra-aware of when you’re going into a remote stretch where the only store for 300km might only be open six hours on a Sunday.

It’s still hard to make too many decisions before hand, so it’s often a good idea to mark both where you can get a hot meal and where you can get a larger resupply. These aren’t always the same place. For example, gas stations tend to be open longer and will provide plenty of hydration, candy, and other snacks, but they won’t often have a proper meal option. And real food is important (in my opinion) when doing an ultra.
Likewise, are there places where it’s best to call ahead to order? Maybe you can get a fresh pizza somewhere, but you probably don’t want to be waiting 30 minutes for it to be prepared.
The Extras
At this point, you will have a route card with either one master list or perhaps a couple different lists. You’ll know the places you could stay while sleeping. You’ll know where your options for resupply are, and what sort of resupply (and when) you can expect to get from them. So what’s left?
Final Resupply
I say this from experience: it feels very, very, VERY bad to bonk at the end of an ultra race. So in addition to the more specific planning you’ll give to the start of the race, make a specific plan for the end of the race. Where is the last place you’ll want to stop to resupply? Don’t skimp there, you need energy right up to the very end. Try to have an even more specific idea of what you’ll want from that stop and precisely where it will be.
Bike Shops
It may be important to you to note where bike shops are along the route. I haven’t done this previously, but it might have helped me last year when I punctured on day 1 and ended up having to detour quite a ways to ensure I wouldn’t get stuck.
Beyond repairs, though, many bike shops will have things like drink mix, gels, and energy bars available where convenience stores or even grocery stores may not. It could be part of your strategy to resupply through bike shops wherever possible.
Anything Else of Personal Importance
Everyone is different, and everyone needs different things to get through an ultra race. I prioritize a real meal once or twice a day (in addition to LOTS of snacks) and places to camp that I can get in and out of quickly. Maybe what’s important to you are all the places on course you’ll be close enough to water to jump in for a moment.
Whatever it is, don’t be shy about noting it in your route card.
Using Your Route Card
Great! Now you have your route card. A big long list of distances and places.
Soooooo…
The major utility here is that you don’t have to pull out your phone to check your distance to the various places you’ve marked. Why? Because presumably you’ll have your phone or cycling computer keeping you on route, and presumably this will be recording your distance traveled. Therefore you can easily compare how far you are to how far your next stop is. Yes, there’s a little math, and as stated, math is hard in the middle of an ultra, but it’s nothing so daunting that you shouldn’t be able to manage.
Keep in mind that your distance markers may not be 100% precise, because maybe you’ve gone off route to reach an earlier stop, or maybe you had a detour to work around. Still, you should be within just a couple kilometers/miles, so you’ll know when to keep a keen eye out.
Color code everythhing.
To make your card as simple and usable as possible, it’s worth color coding. At a minimum, it can help you to set apart your overnight options from your resupply stops. It would be bad to get those confused.
Other things that might be worth color coding are control points (if your race uses these), “mandatory” resupply stops before you head into a remote section, maybe even restaurants versus gas stations.
Familiarize yourself with your route card ahead of your race. Study it. Don’t have questions about which color means what.
Consider breaking your card into sections.
In both 2022 and 2024, I kept one giant card for the entirety of the Mishigami Challenge. This worked well enough, because even though the distance on my cycling computer started from zero every day, the distances between the stops I’d marked were consistent with what was on my route sheet. As the days wore on, I became a lot less concerned with relating stops to total distance covered and relied instead on relative measures.
However, this does mean that there’s some extra math involved, and that can get overwhelming to a tired brain.
Instead, you could consider breaking your route card (and your course GPS file) into sections to avoid needing to do this. Maybe you split it into 300km blocks, following your anticipated daily distance. And what happens if you go an extra 50km? Well, the next day it’s not so hard to subtract 50km from every distance on your card when comparing to your day 2 distance on your cycling computer.
Time Now = Speed Later
Let’s say it one more time: do as much thinking as you can ahead of time. You WILL NOT be able to make all your decisions before the race starts; in fact, most of the decisions will have to be made during the race, in the moment.
The goal of your route card is to narrow the possibility space, to present yourself with a finite list of answers that can be easily decided and then followed through upon.
The preparation is worth it. If you’ve never done something like this before, I highly encourage you to take a test run, just like you should with every other piece of gear you’ll use. Plan a weekend trip and make a route card for that simple trip. See what works and what doesn’t, what you might want to reorganize or reformat to fit your particular way of reasoning. Do you need more information about landmarks and directions to guide yourself off course and back? Or do you want less information so you can focus on the most important details? How big or small do you want to print your card, and where on your bike will you store it?
Get out there and give it a try. And then have a ton of fun - and be filled with confidence - when you set out on your race.
Appreciate you Tim! Cant wait to dissect and analyze this!